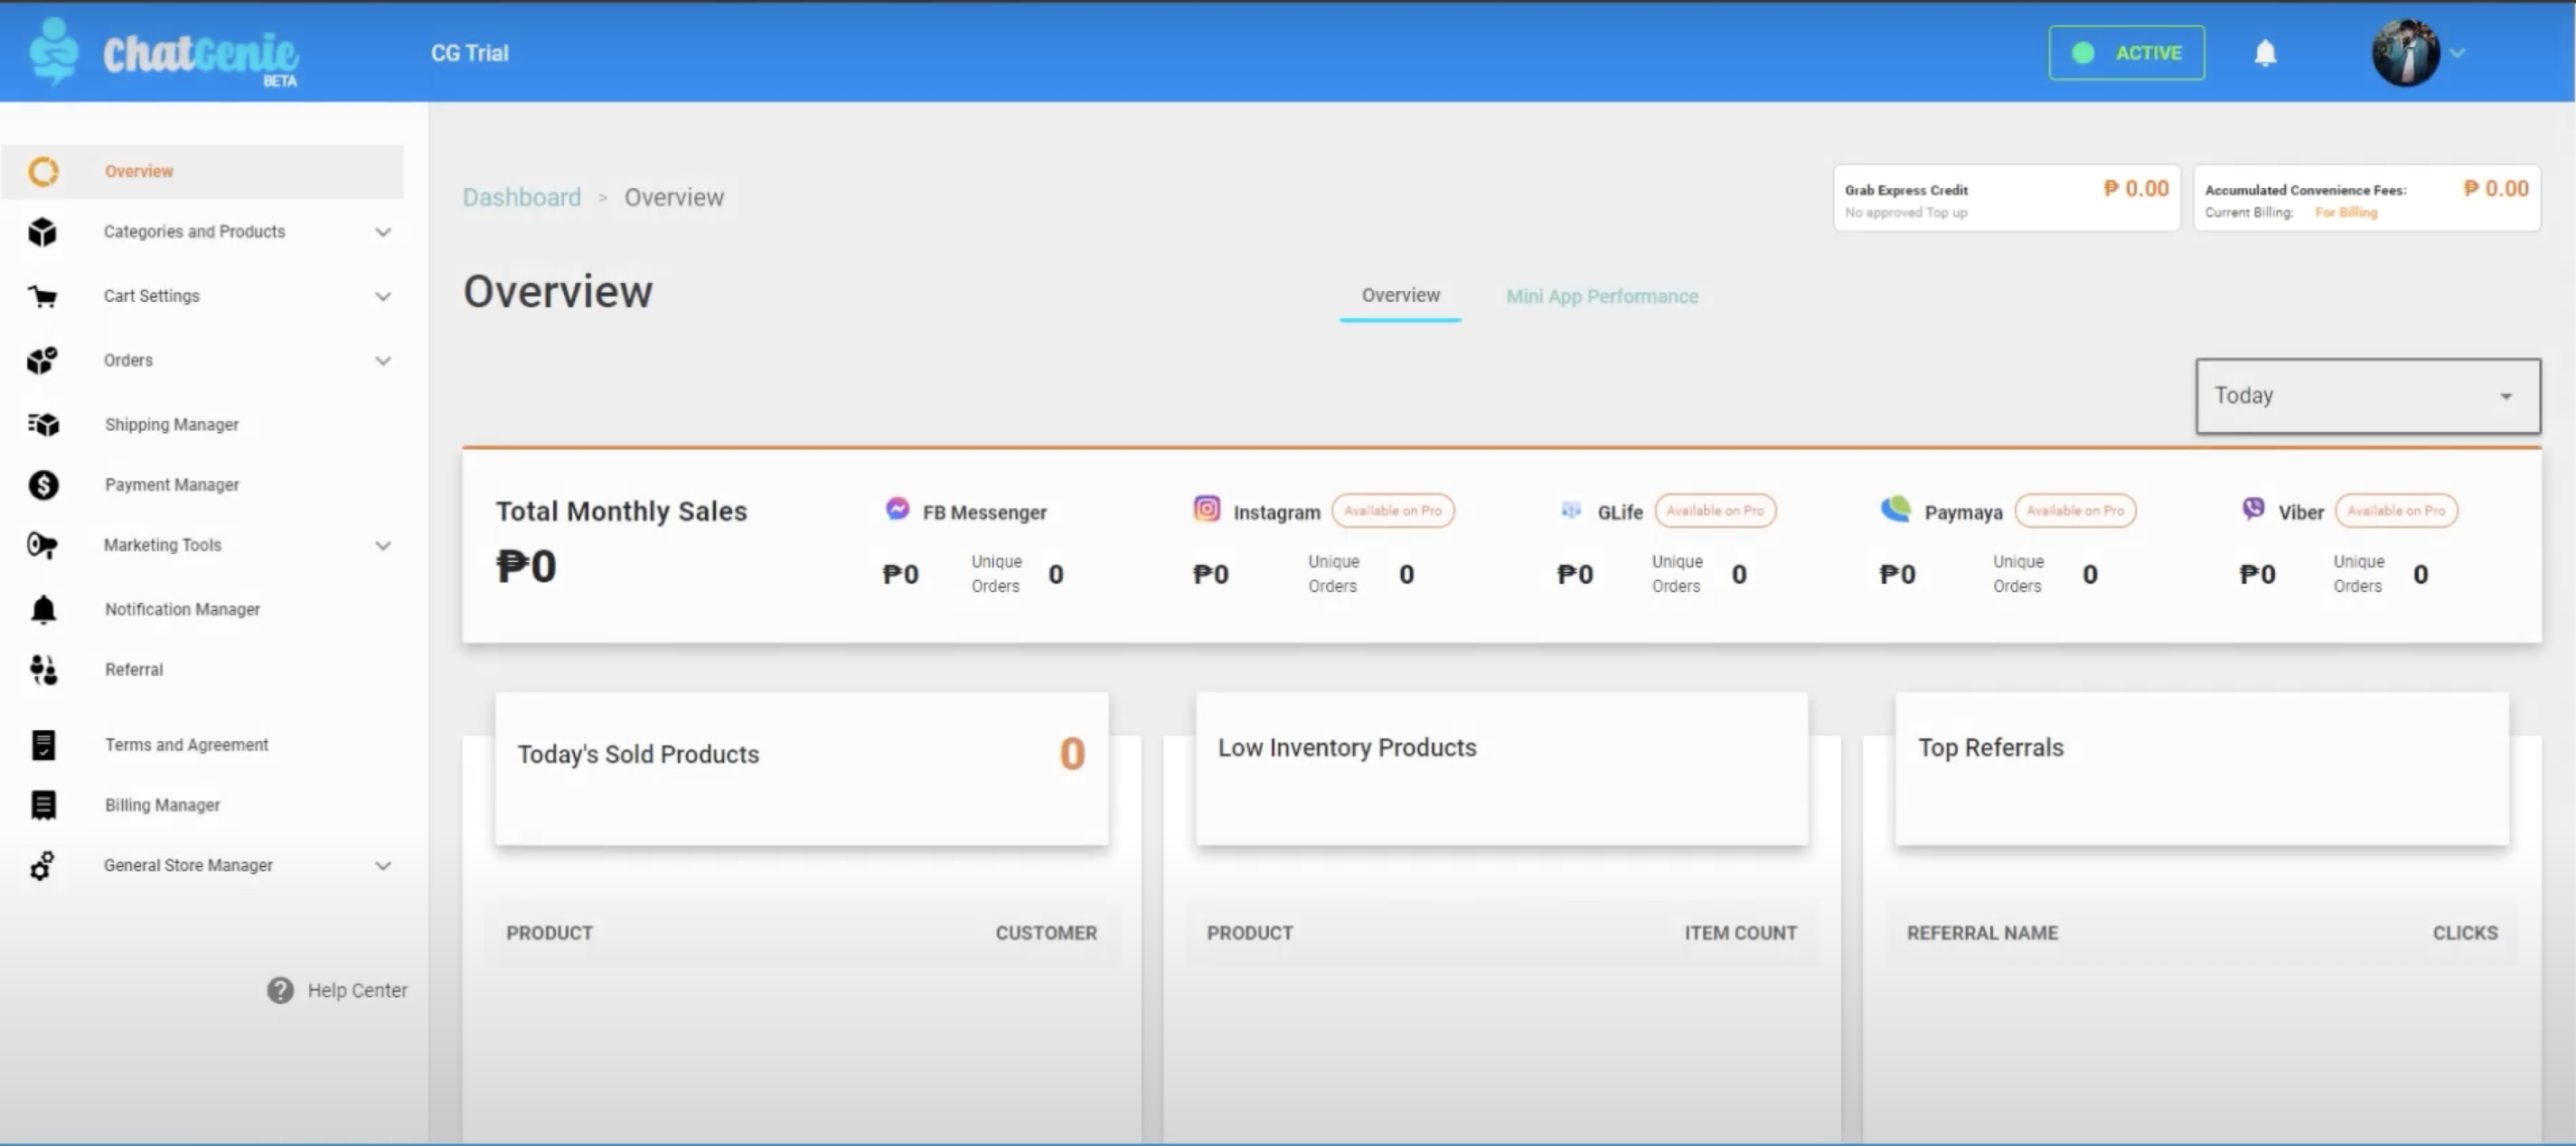
The ChatGenie Dashboard can get a little overwhelming, we get it. After all, you control every aspect of your online store right here: from adding categories and products to adjusting payment options and delivery settings to even tracking all your transaction data. The ChatGenie Dashboard also lets you track all your transaction data across all your sales channels, from Facebook and Instagram to Viber and GCash! There are plenty of features for you to explore here. Let us walk you through the ChatGenie Dashboard with this detailed guide and let you know exactly how to use all our special features to truly maximize your ChatGenie Mini App online store!
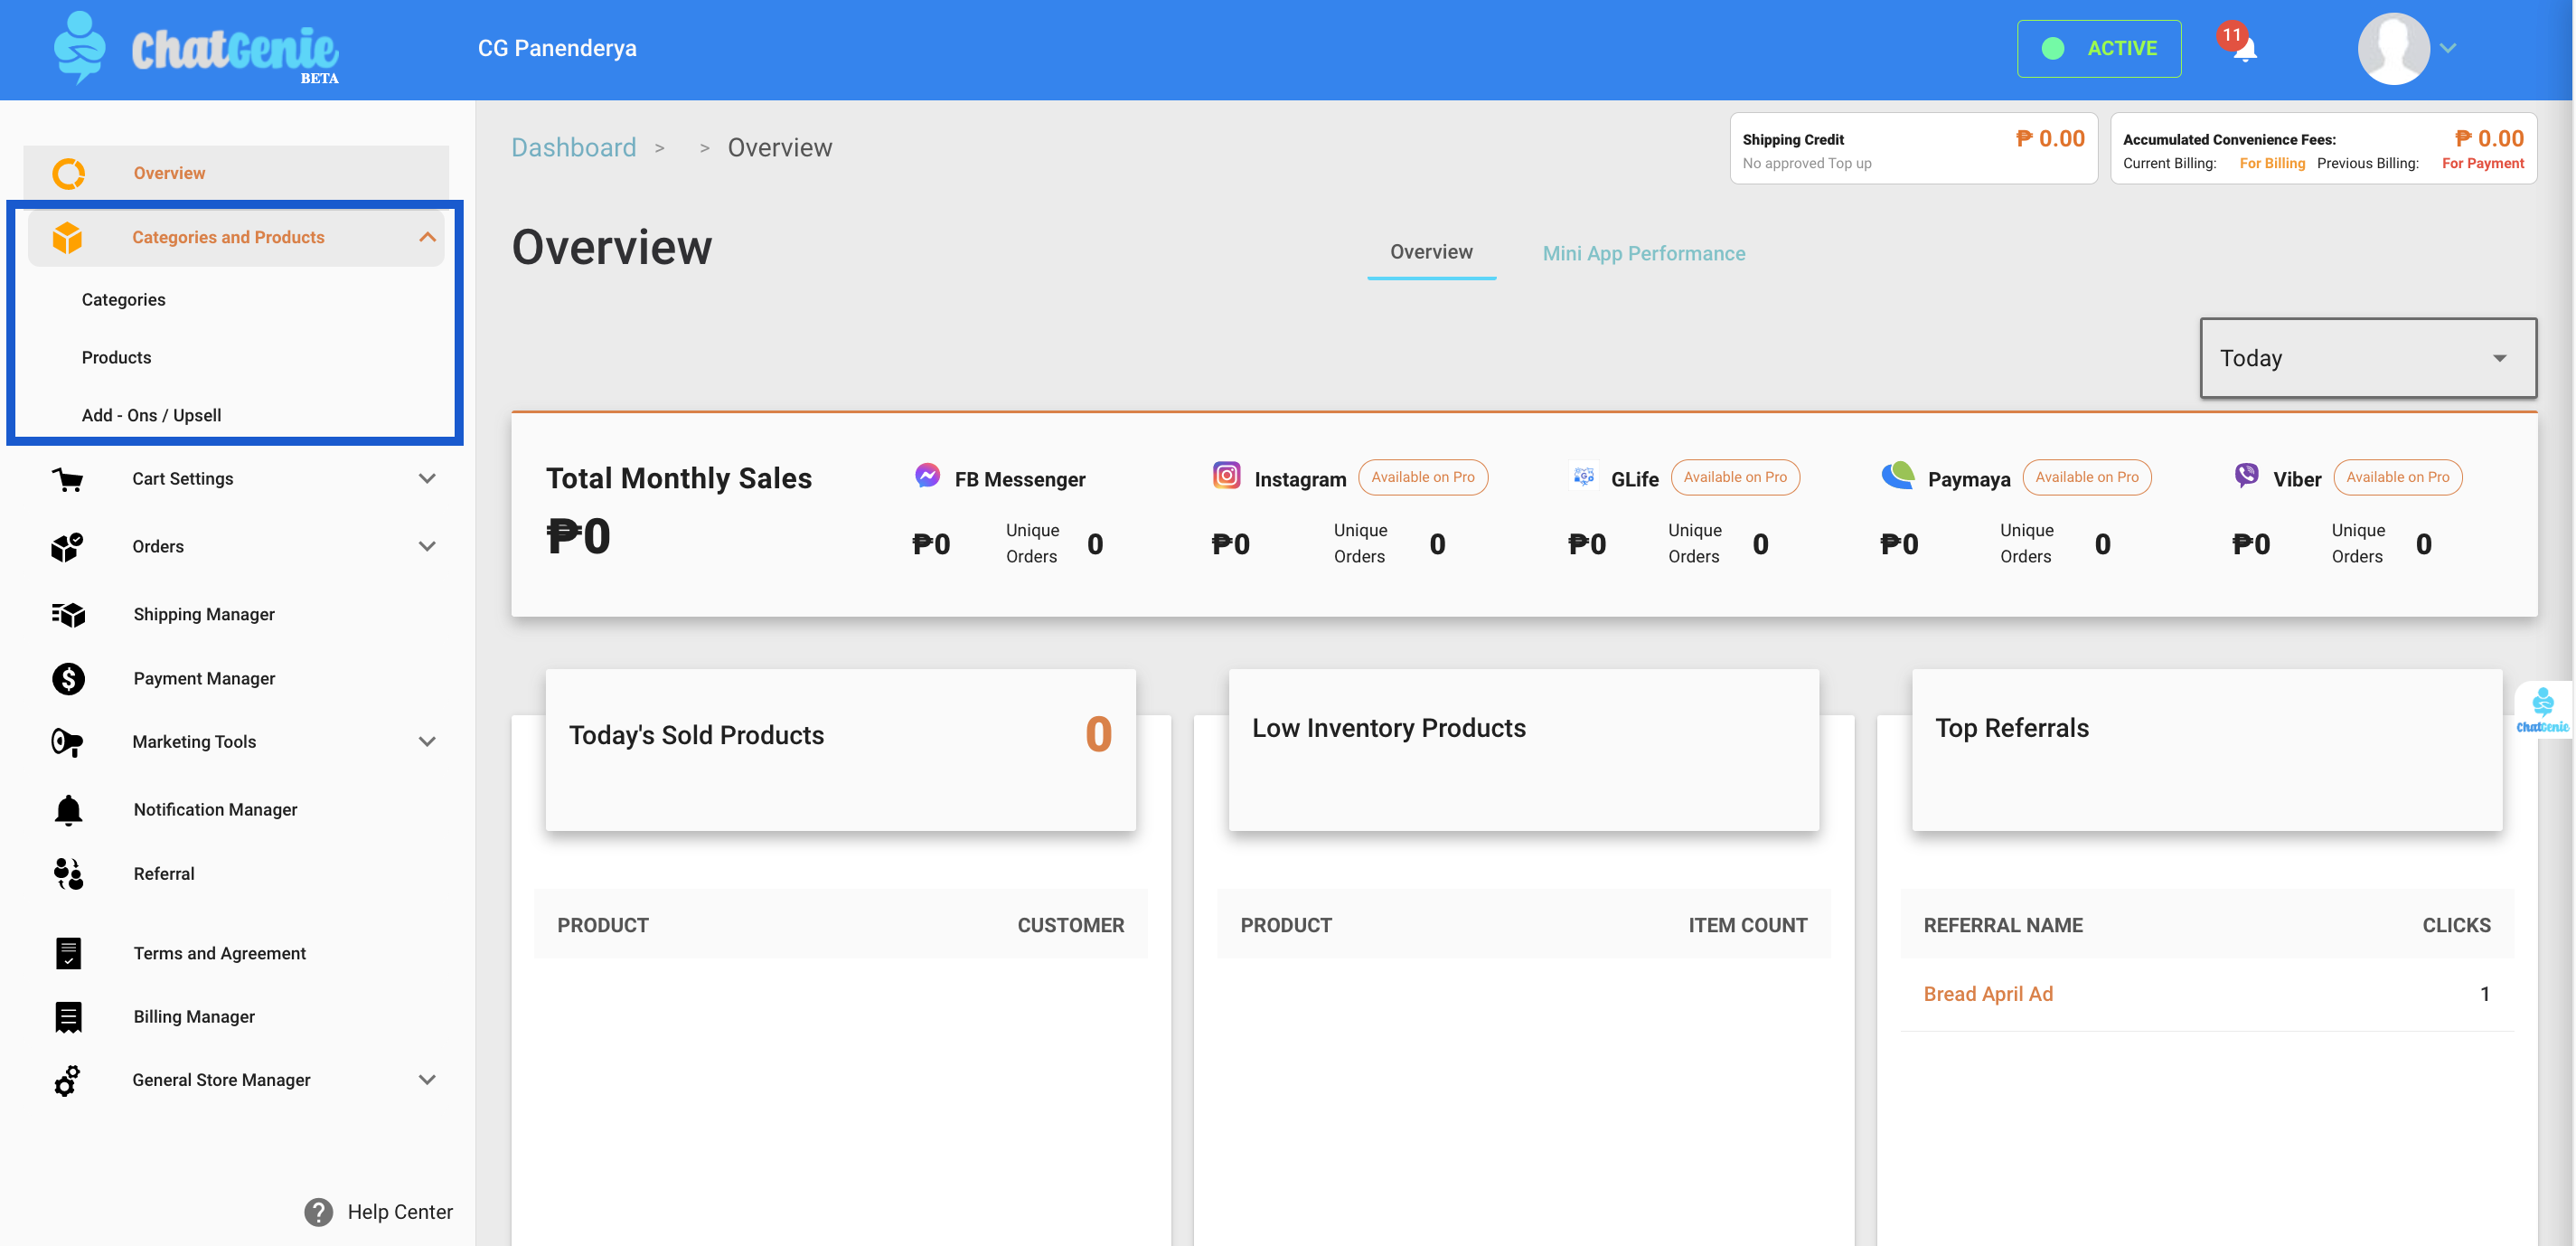
Categories and Products - You can create your store categories, add products, and manage them all here. First, create Categories and add their corresponding photos and descriptions. Next, create your Products and upload their photos, descriptions, and variants. You can also customize and specify your products with their exact details. Enter a Base Price here to show the product’s default price or add premiums for special items. Indicate your limited inventory easily here by ticking the Limited box. You can also specify particular product colors, sizes, and more with Product Variance and increase their respective prices.
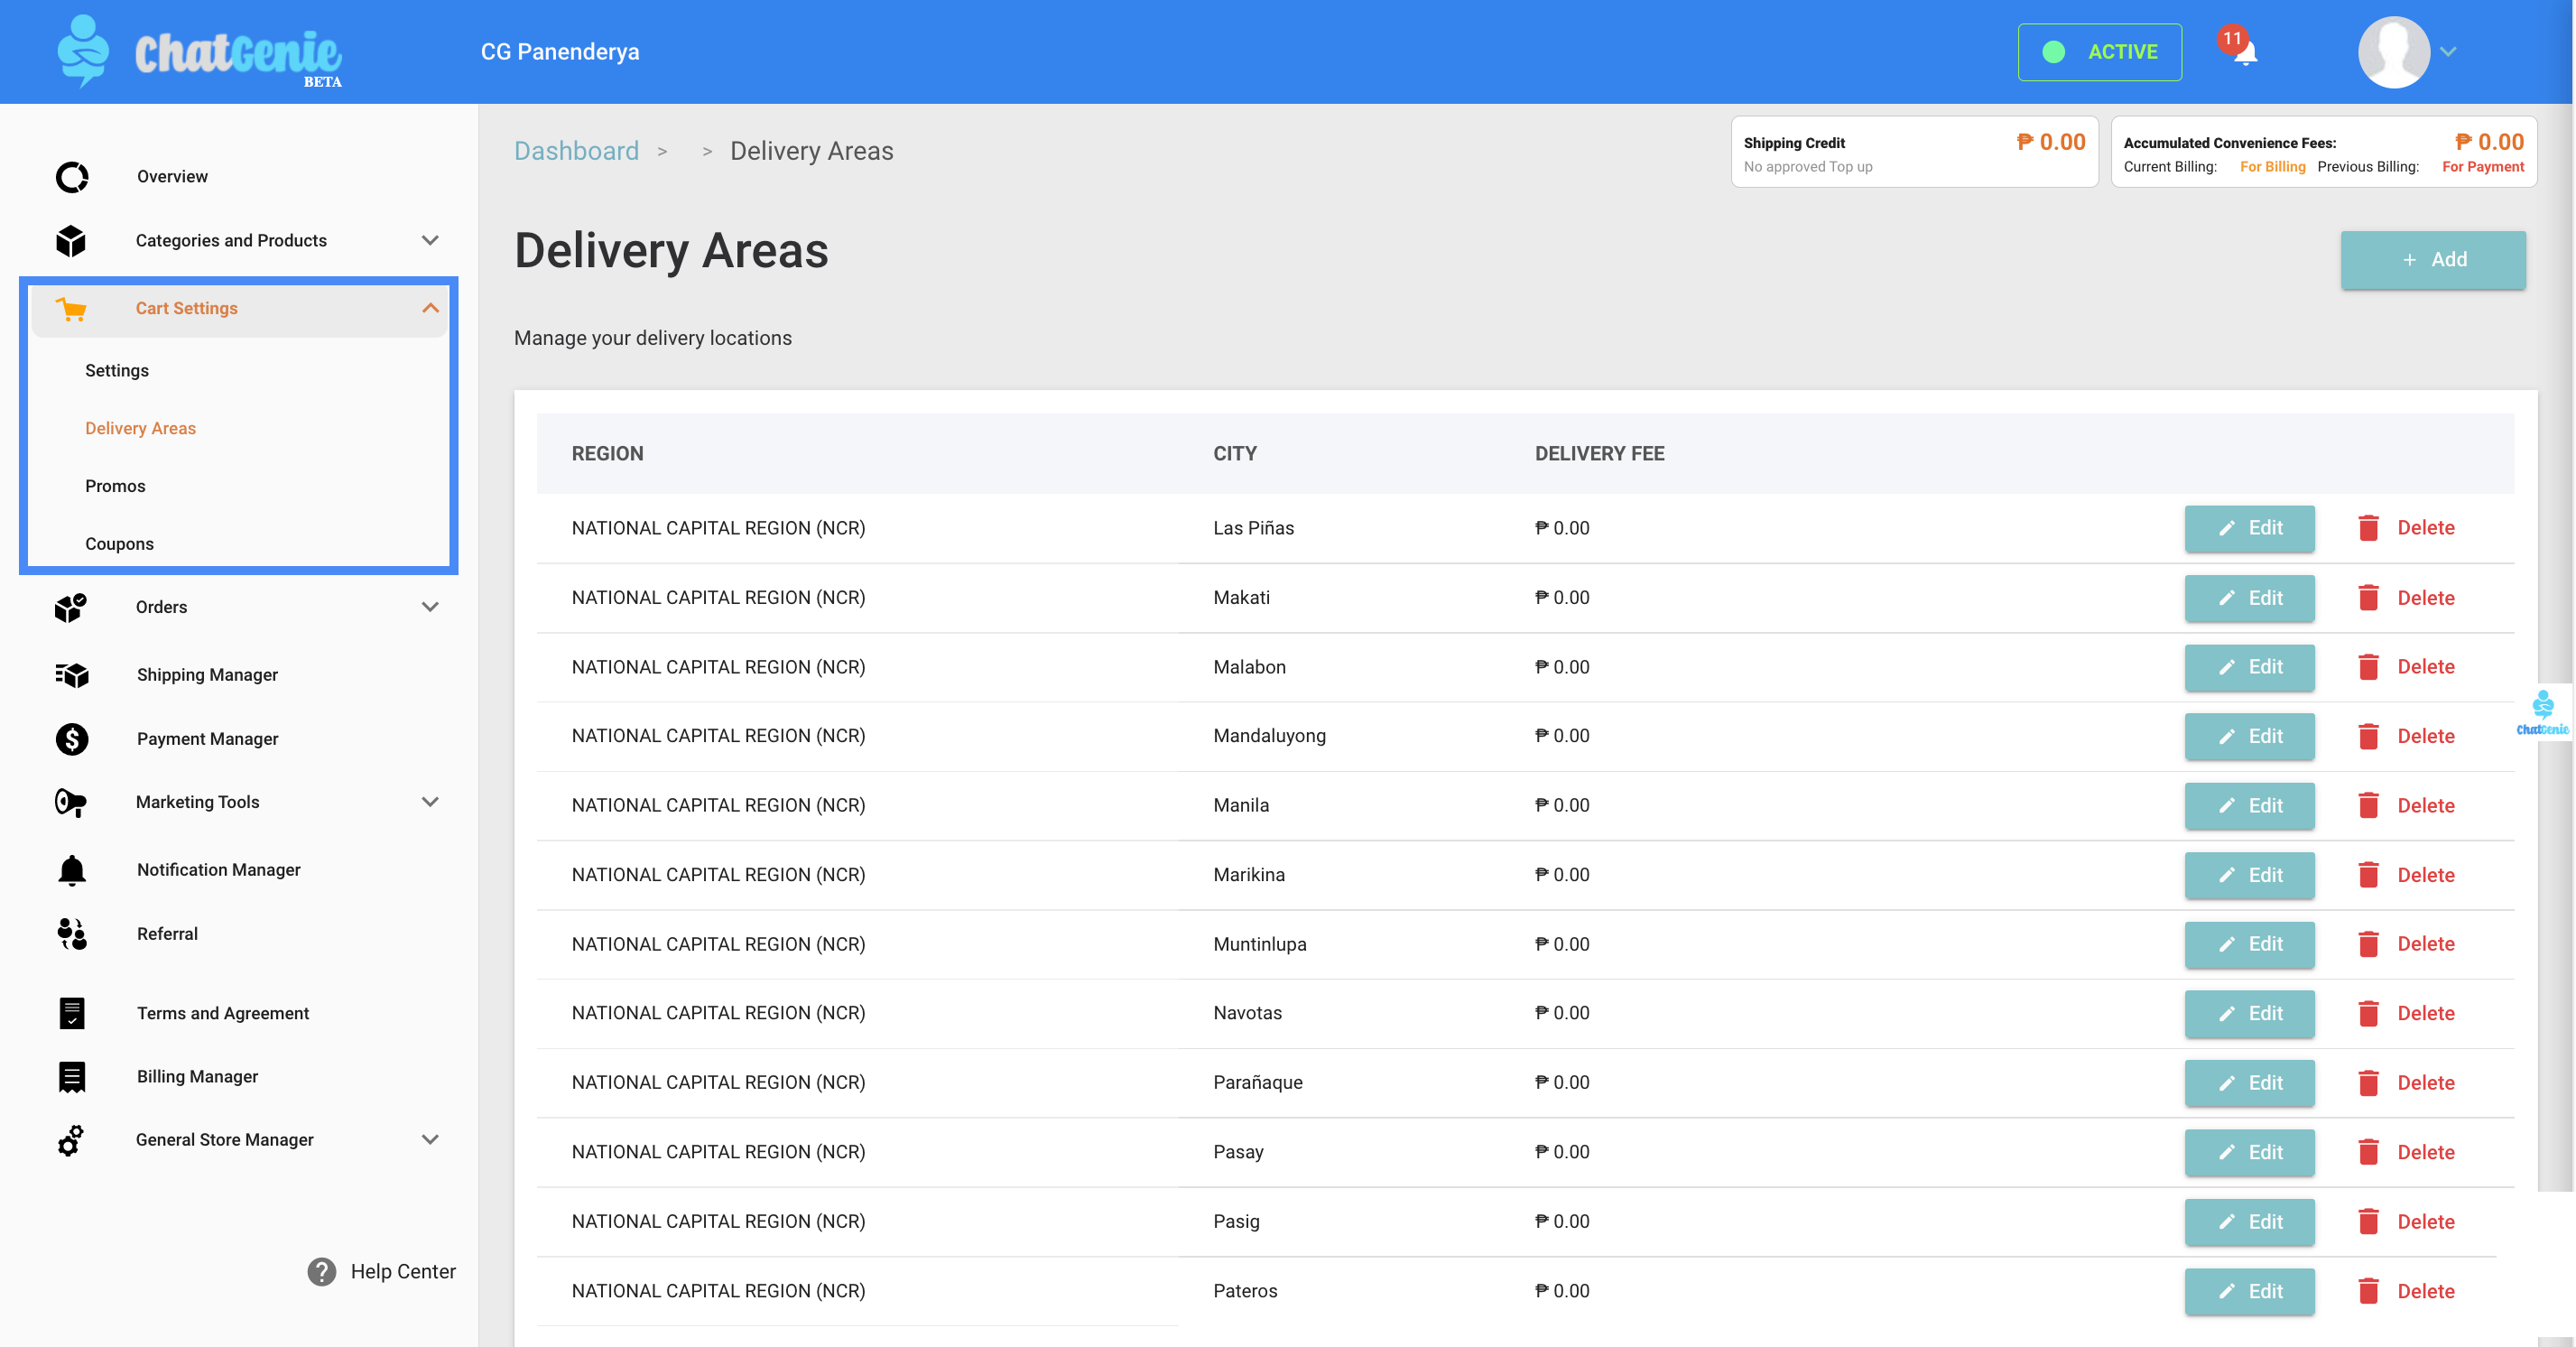
Cart Settings - Adjust and customize your cart settings according to your business needs here. Use this feature to configure delivery areas, offer limited coverage, free shipping, or minimum amount spent here. We created the limited coverage feature for small business owners who only want to cater to a specific area. If you offer digital products, you can specify here to customize your order forms.
Shipping Manager - Use the Shipping Manager to set your chosen logistics arrangements. Work with our platform integration partners like Grab Express and Lalamove for Automated Delivery or choose other options like Manual Delivery. For seamless online ordering, you may allow pickups by your customers by checking the Customer Initiated Shipping box.
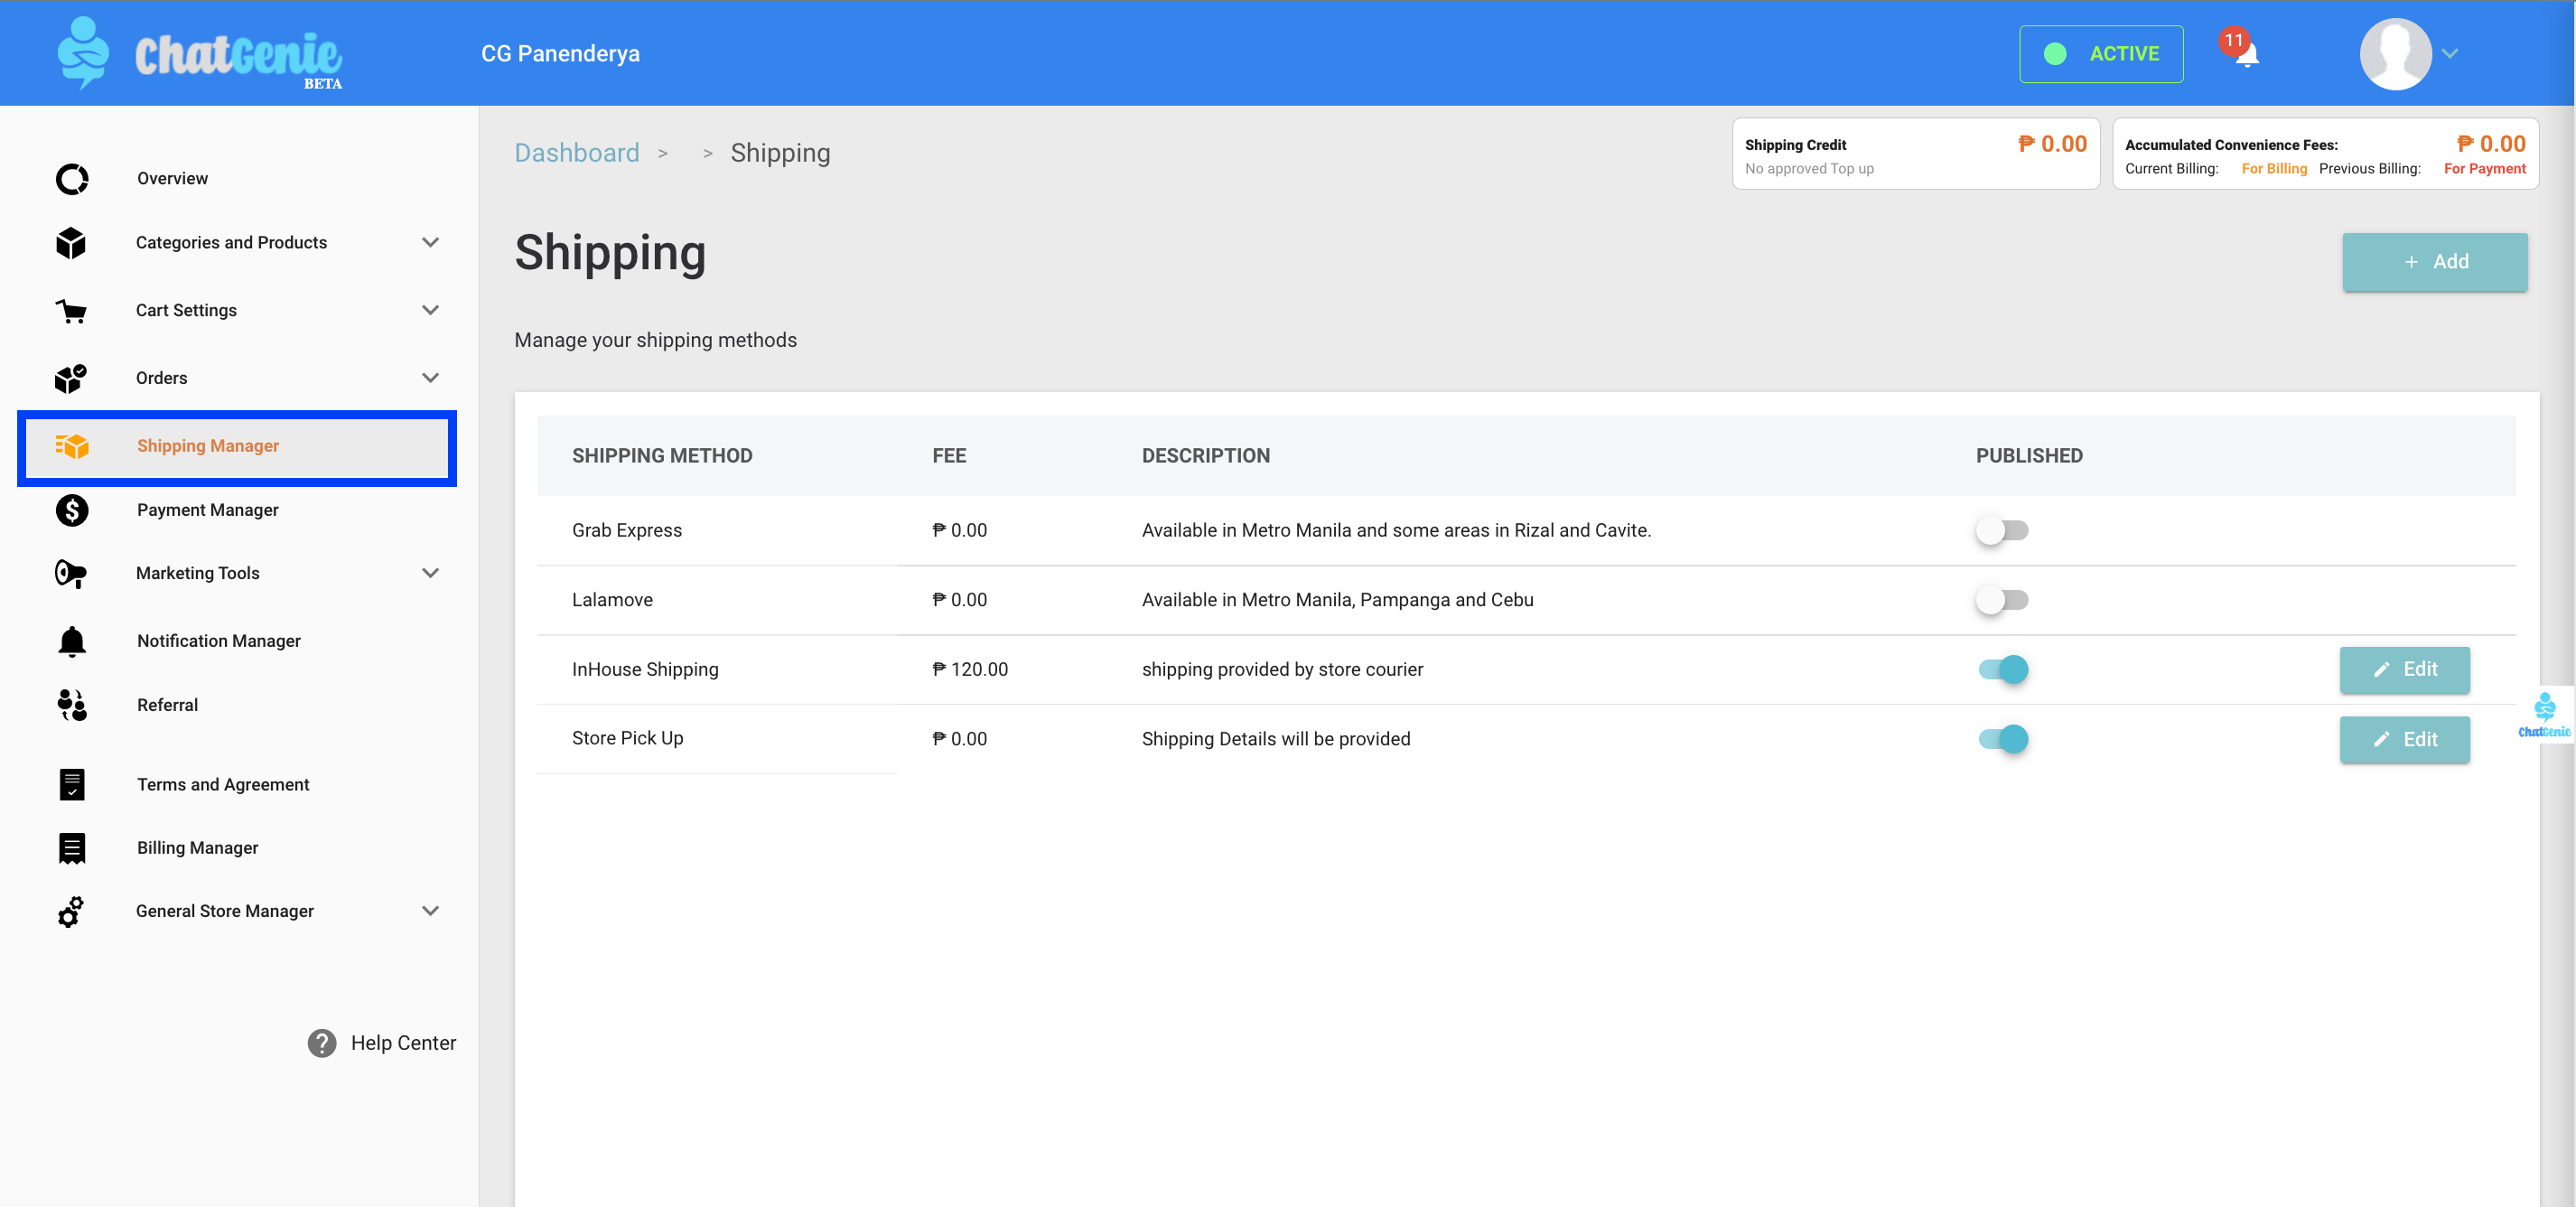
Payment Manager - Choose between flexible payment options and select your payment options in the Payment Manager. In this portion, simply select which options you want to activate for your online mini store. Use the Manual Payment option for Cash on delivery or bank deposits. You can also activate online payment options such as GCash, BPI Online Banking, and PayMongo. Note: Cash on Delivery is only available for the Manual Delivery option.

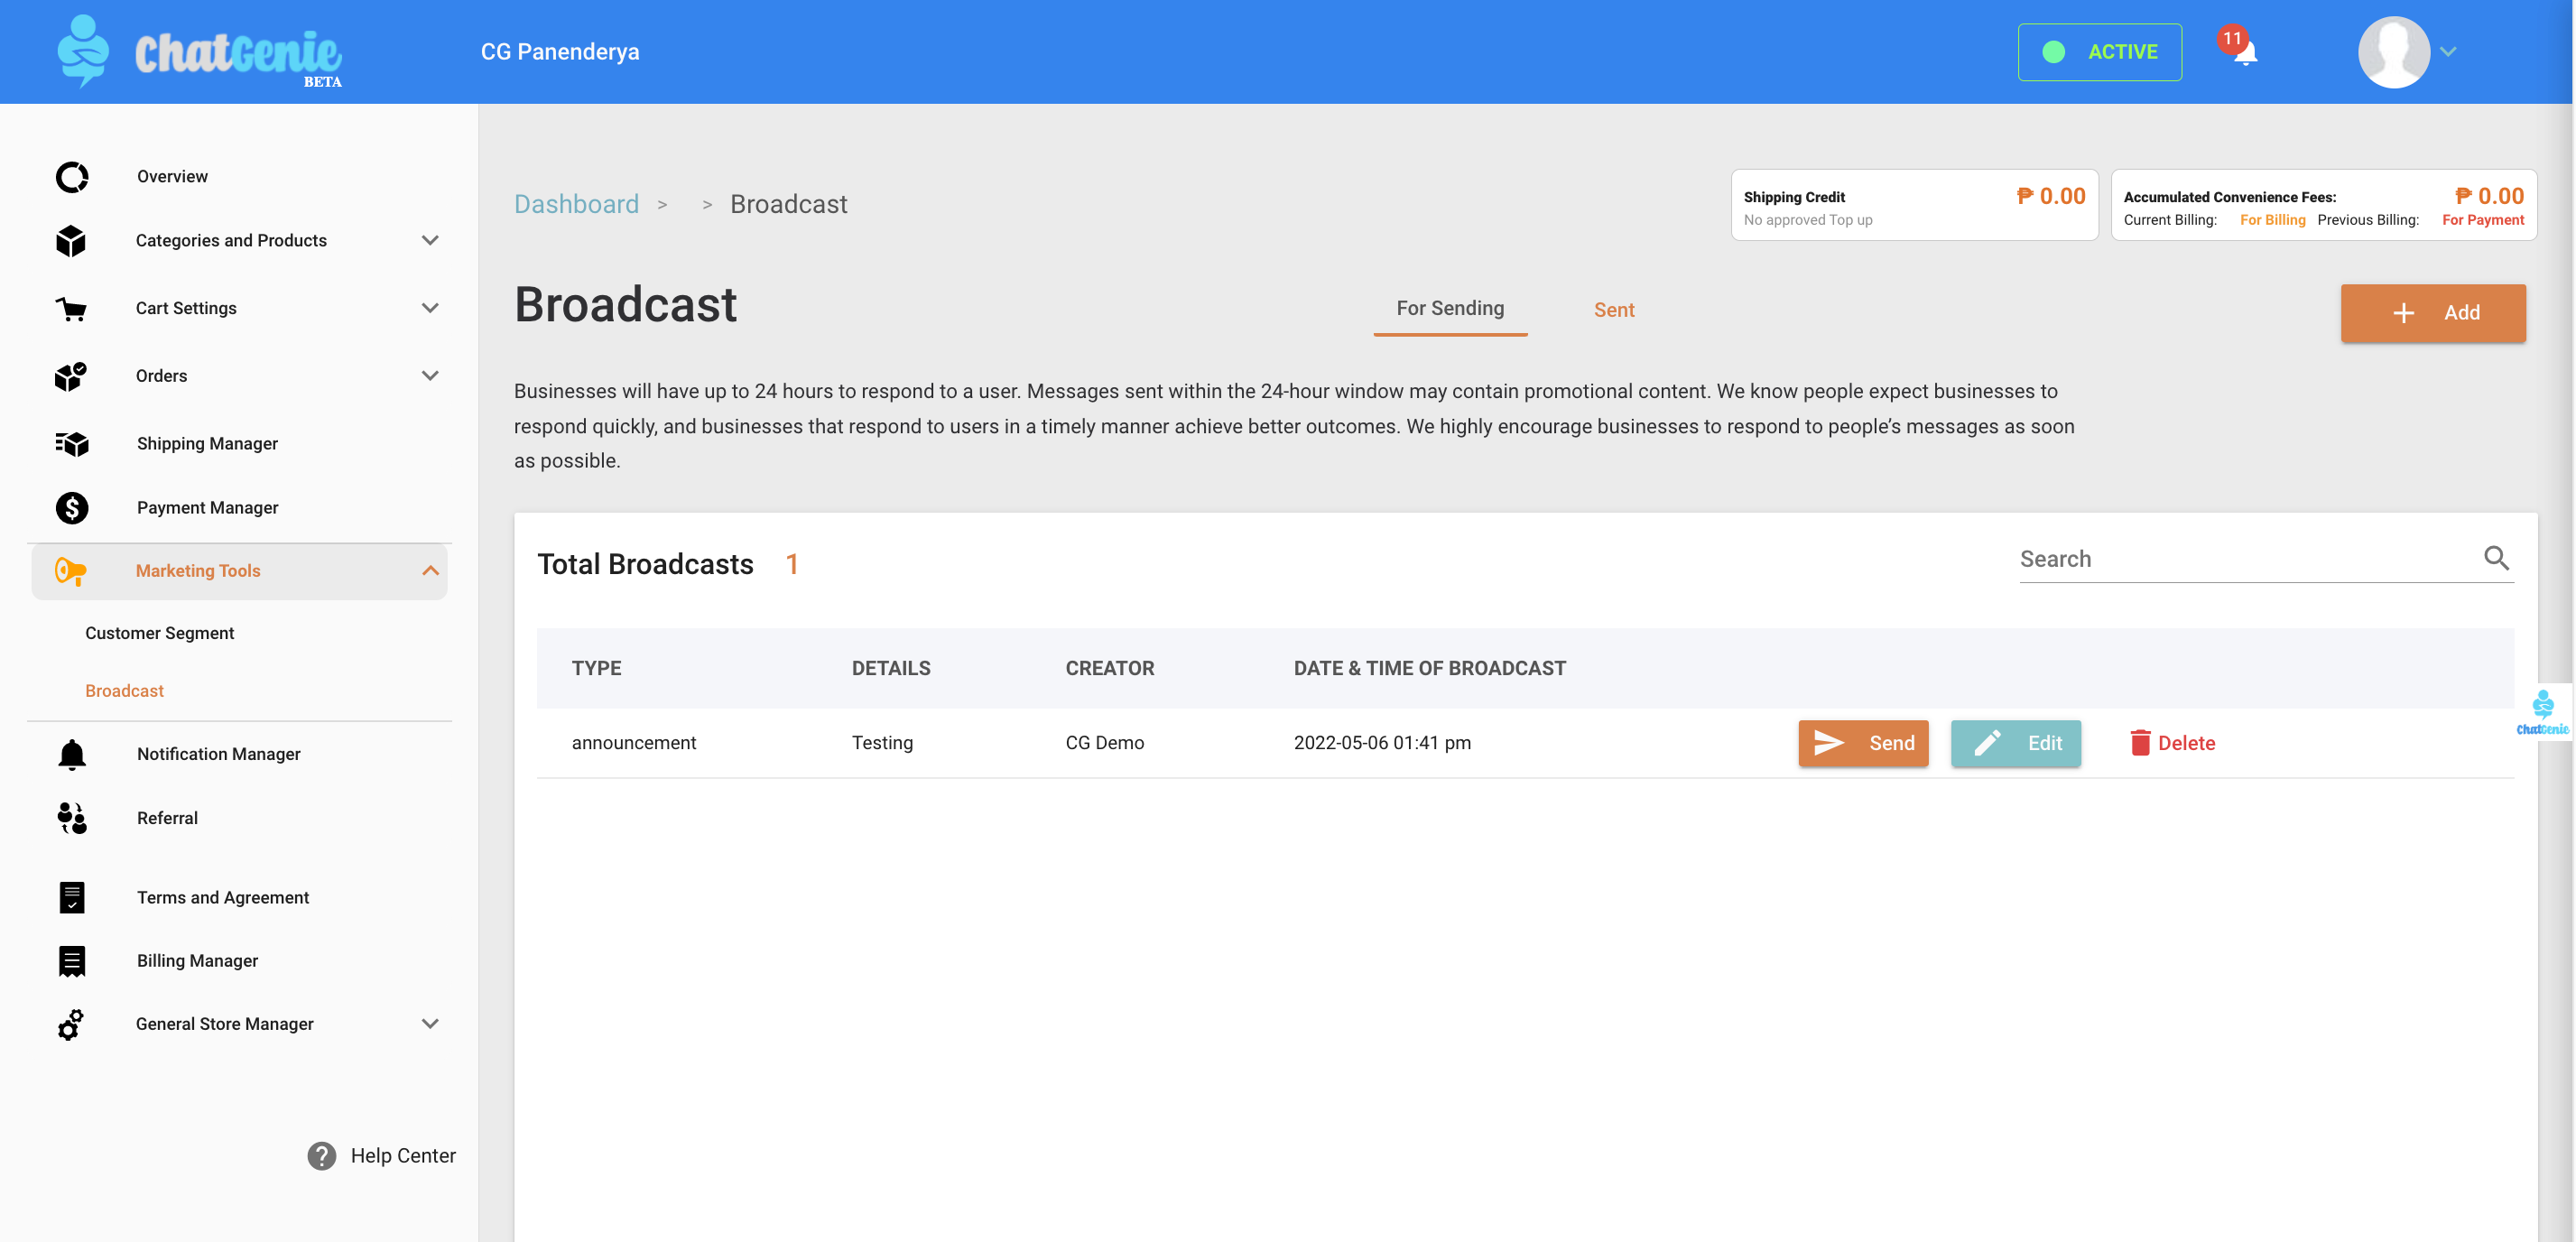
Marketing Tools - Use this portion to manage your online marketing. Under here, you’ll find the Customer Segment feature and the Broadcast Manager. Use the Customer Segment feature to create specific customer segments based on different data points of your choice. Use the Broadcast Manager to reach out to your customers who have messaged you within 24 hours.
Customer Segment - Create Customer Segments from different data points such as selected payment modes, shipping options, and delivery locations to create specific Customer Segments to learn more about your customers and increase your Customer Lifetime Value. You can also target specific Customer Segments with custom audience ads here.

Broadcast Manager - Connect with your customers instantly on Facebook Messenger with the Broadcast Manager. Use this feature to reach out, notify, and check with clients who have reached out within 24 hours.
Notification Manager - Edit, change, and review your notifications anytime. You may also change the default notification messages as you please here.

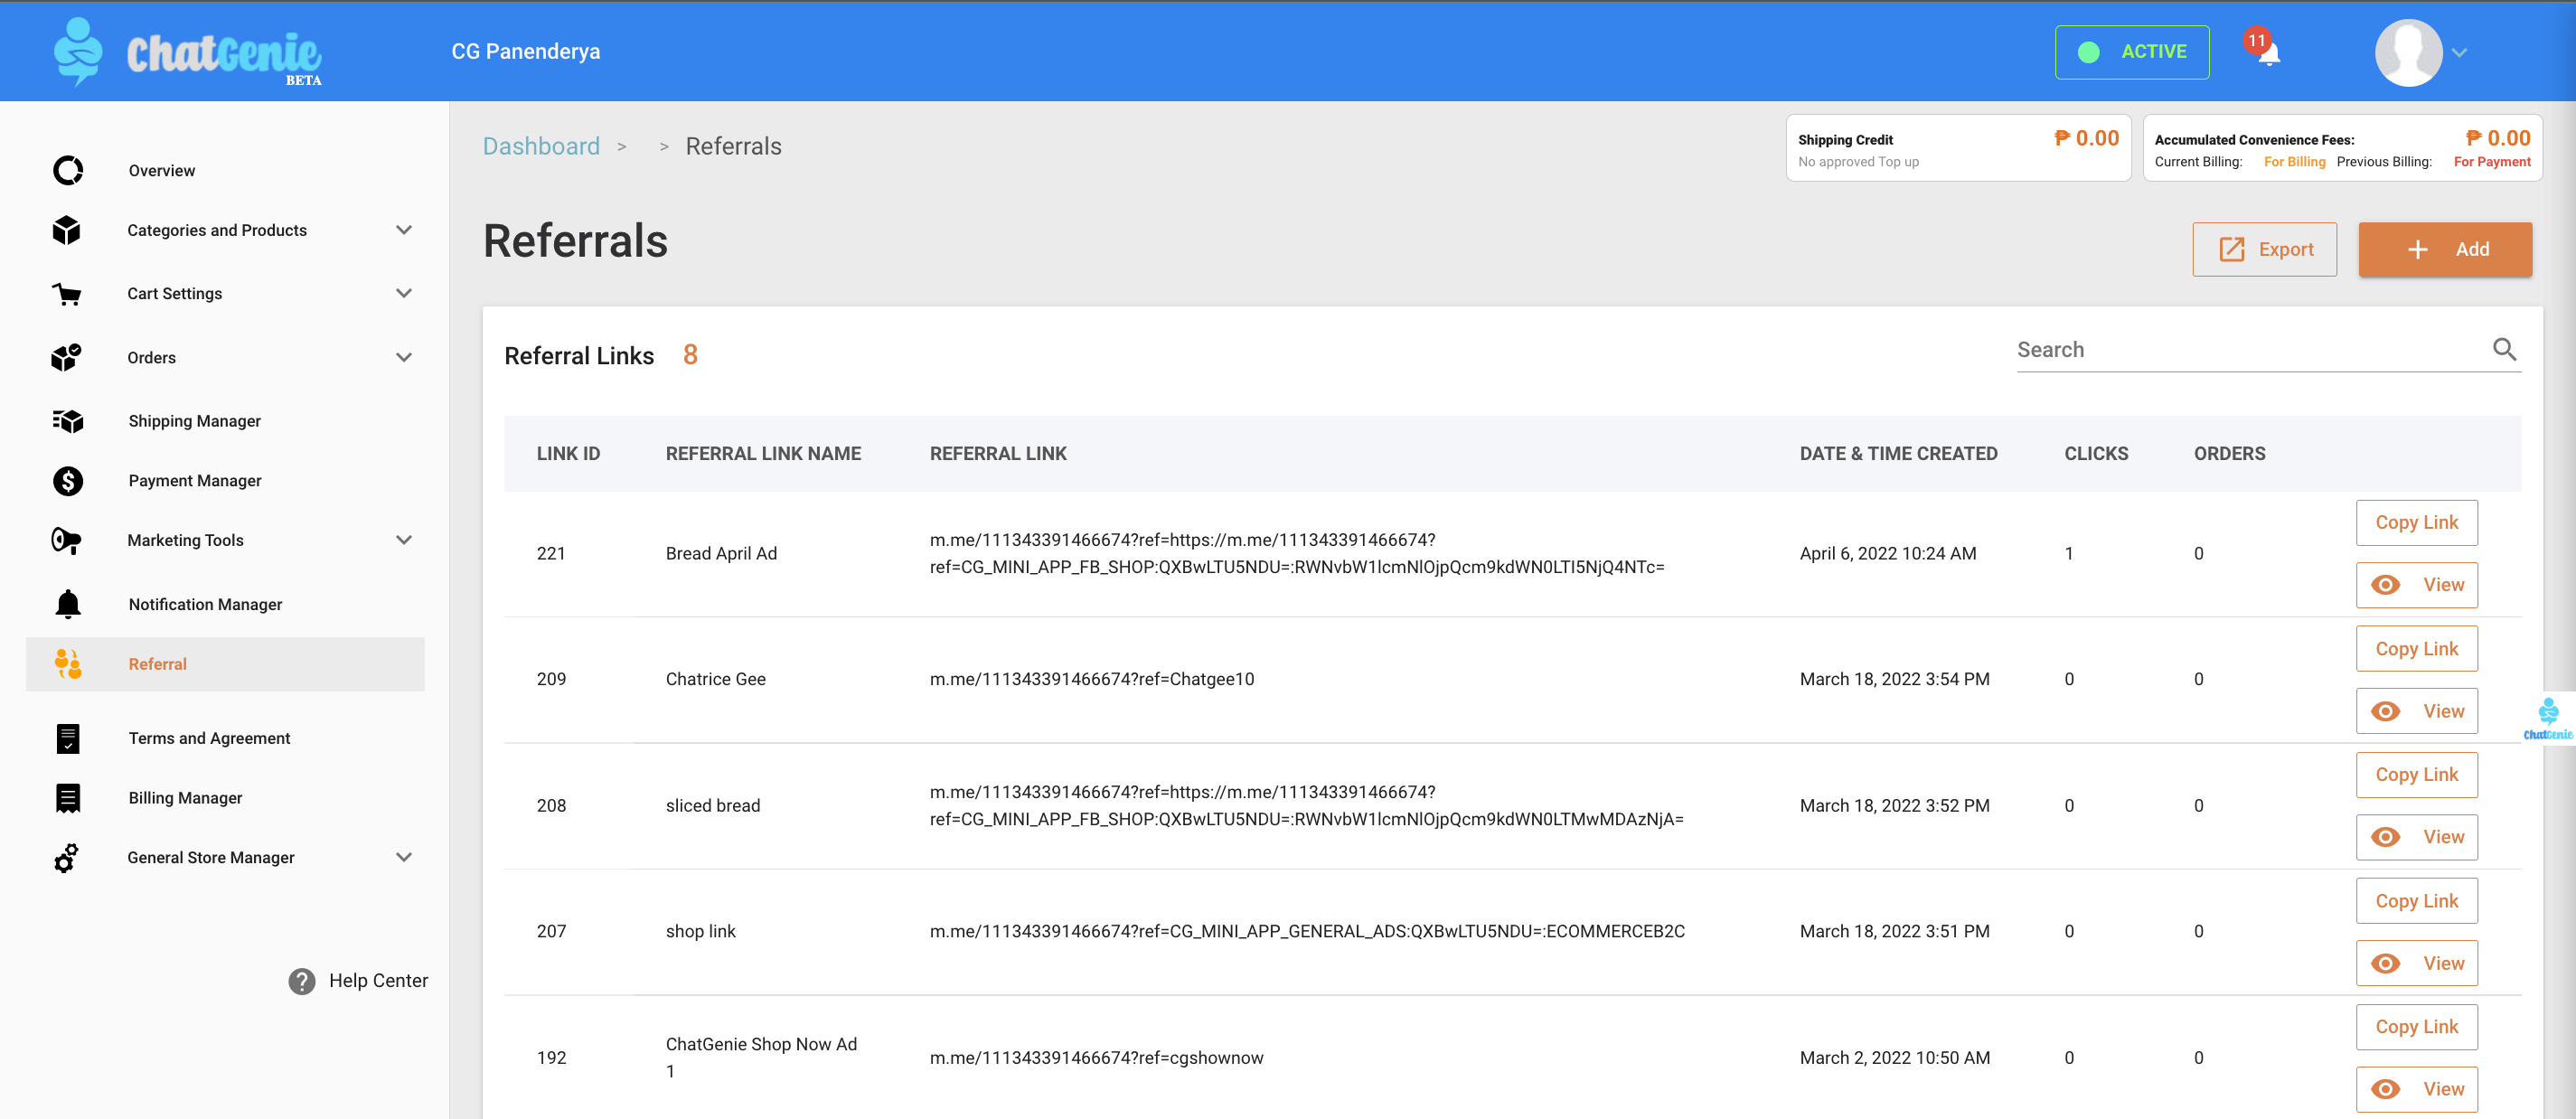
Referral Manager - Manage referral codes, coupons, and promo codes here. View your Referral data with this feature and easily track link clicks, link-related sales, and more.
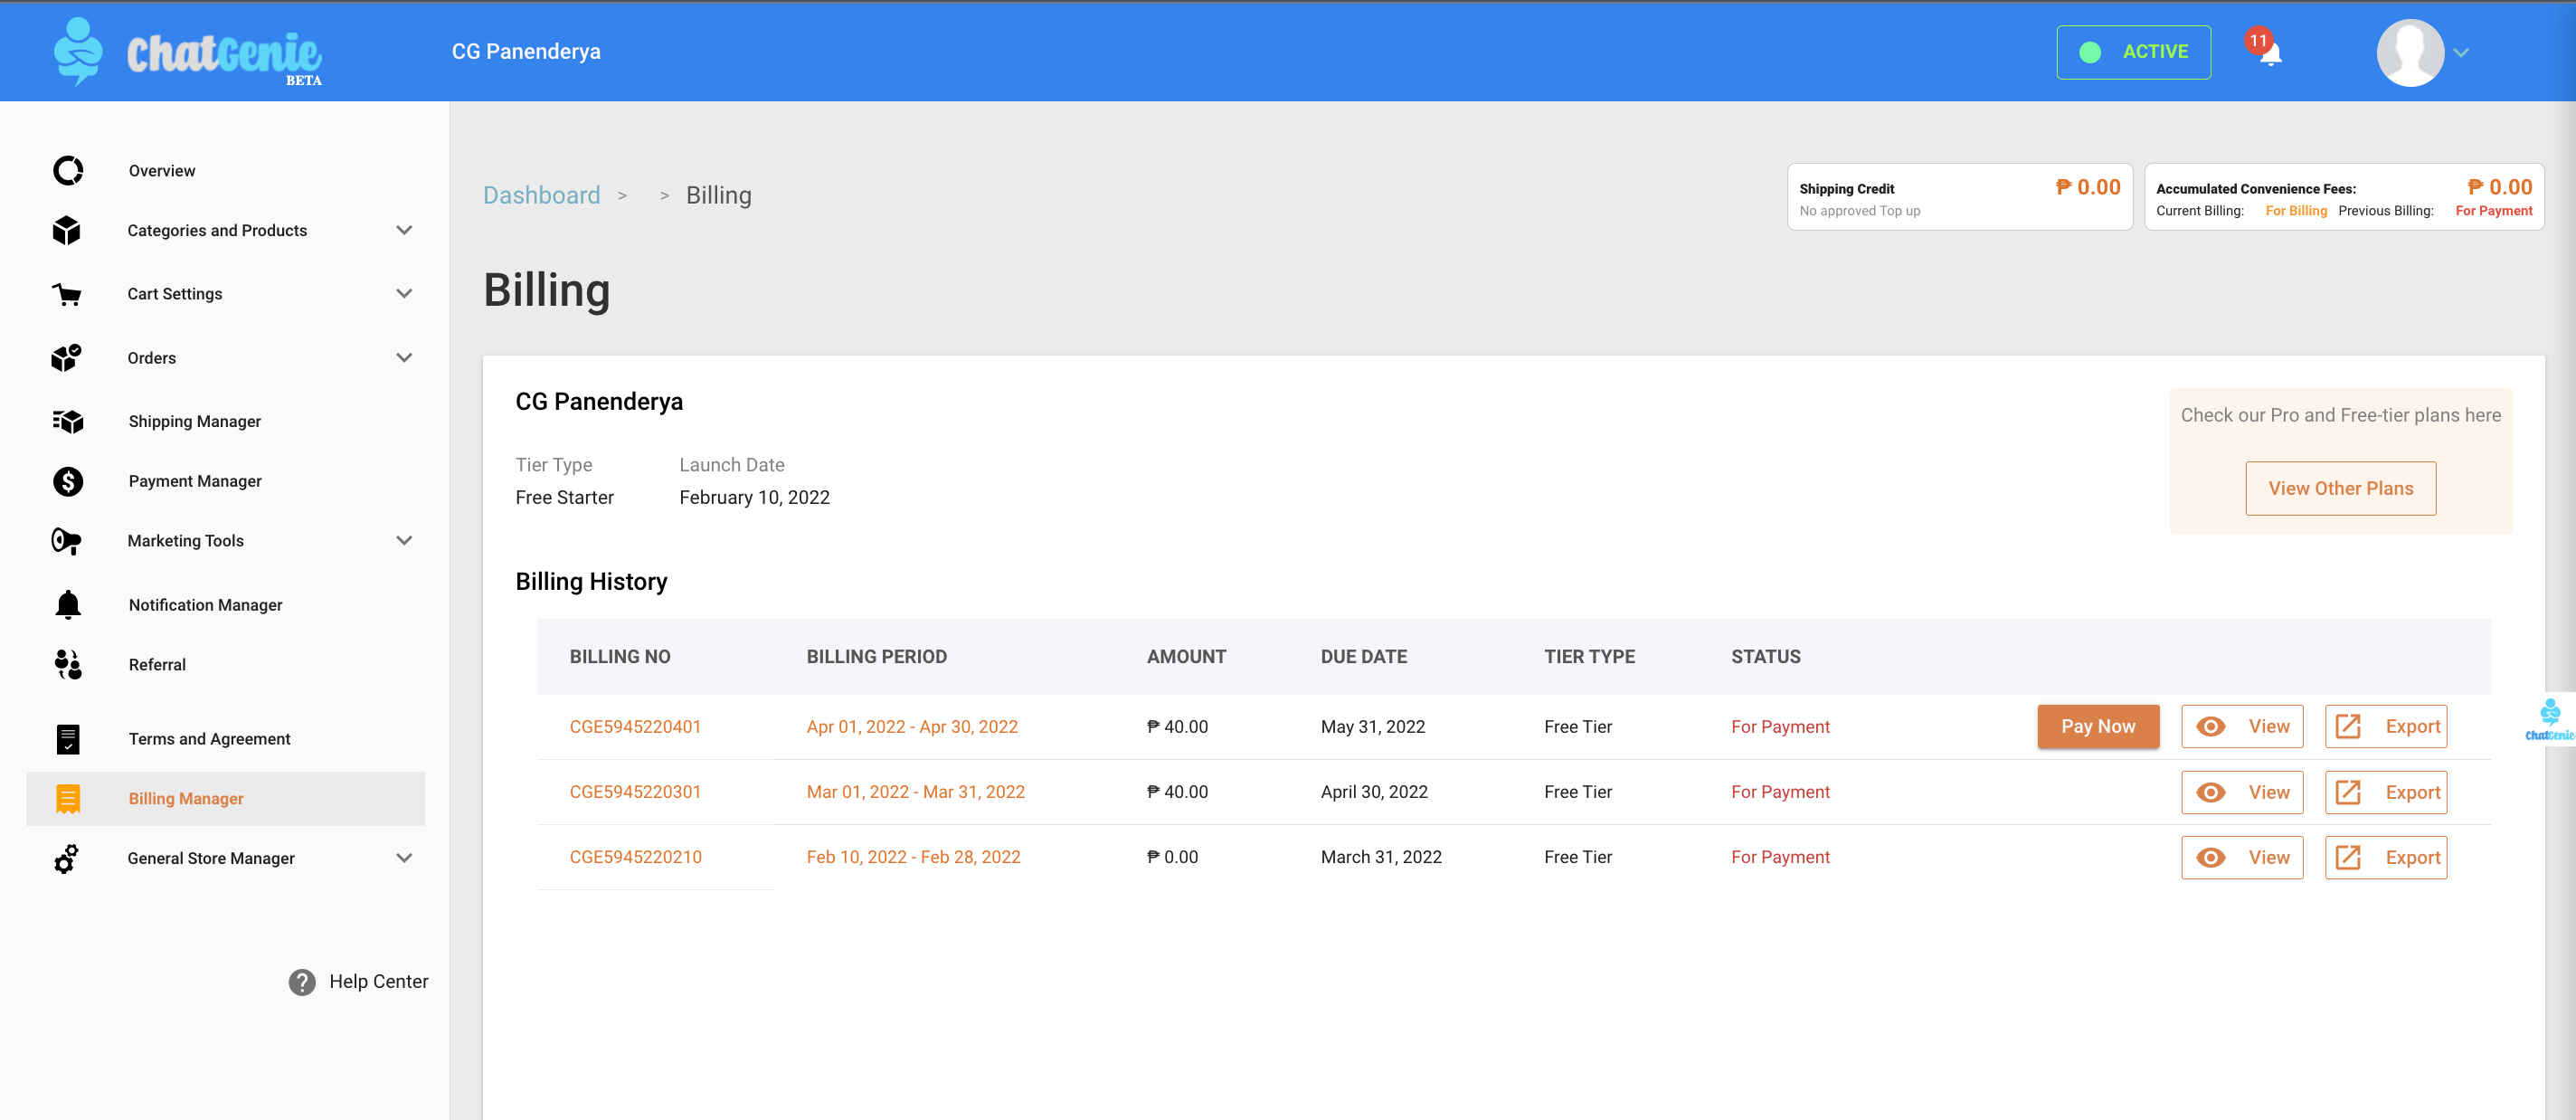
Billing Manager - Keep track of your transaction data here. Get real-time reports about all your data including sales, refunds, and fees.
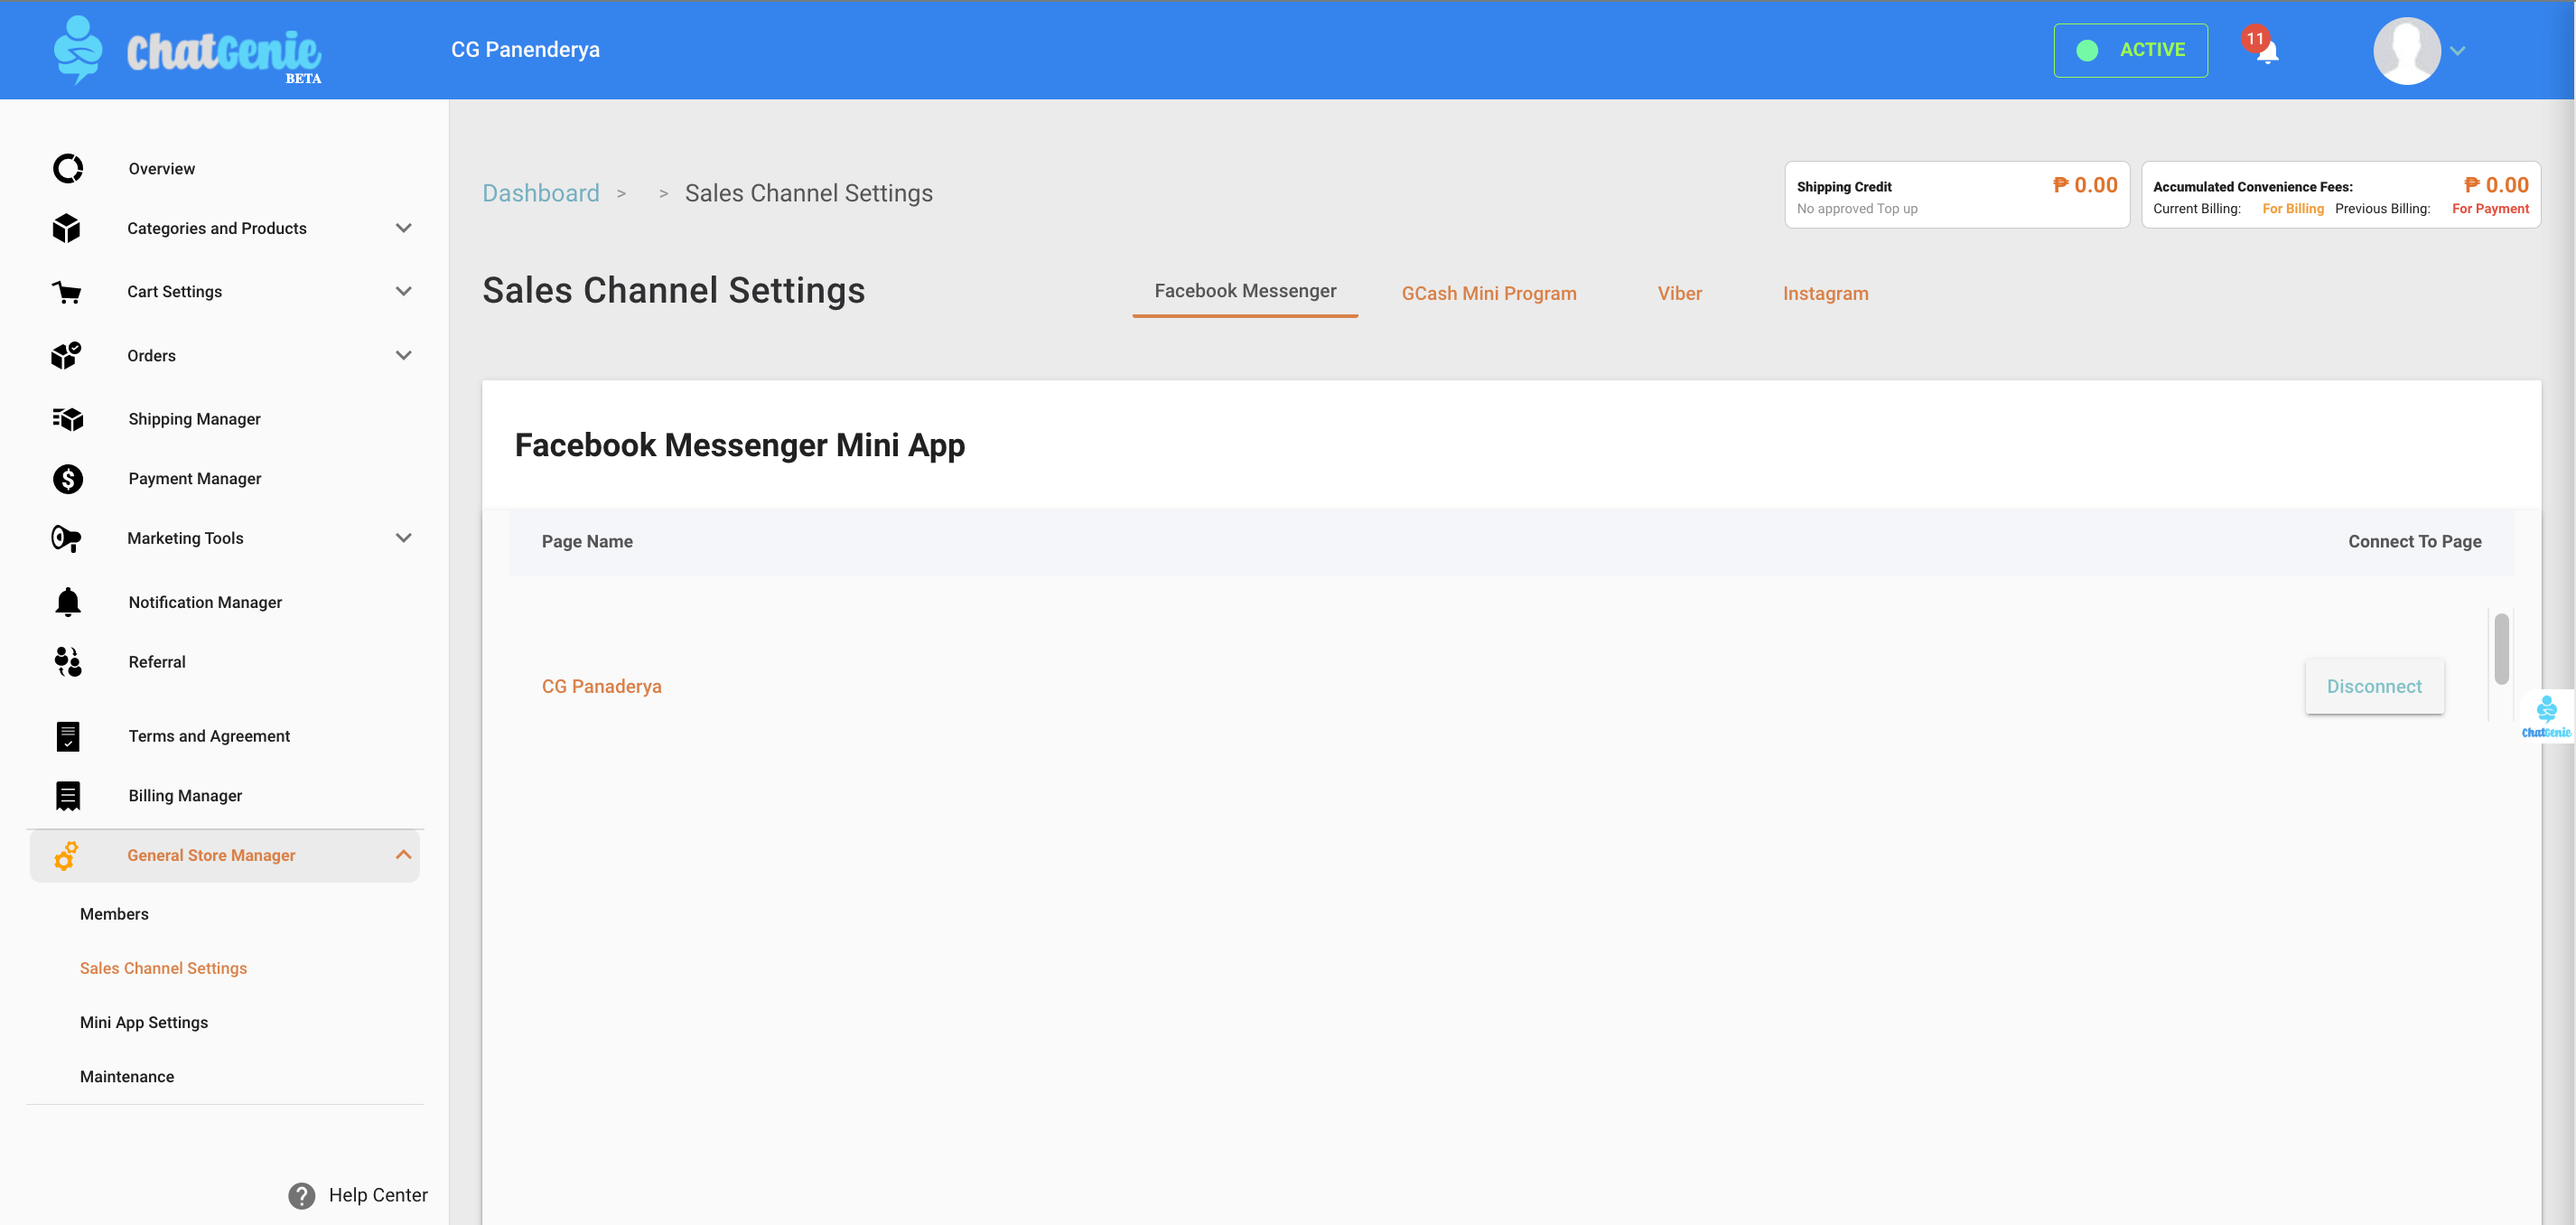
General Store Manager - Use the General Store Manager to assign team members to help you manage your Mini App. Make sure your chosen team members are admins of your Facebook page and add the respective email addresses connected to their personal Facebook accounts. After submitting their email confirmation to manage your Mini App, they will get a confirmation email shortly to finalize their registration.
Congratulations! After reading this comprehensive guide, you’re basically a ChatGenie Dashboard expert. If you have any more comments, thoughts, or questions for us, feel free to message us anytime at m.me/ChatGenie!


.jpg)
